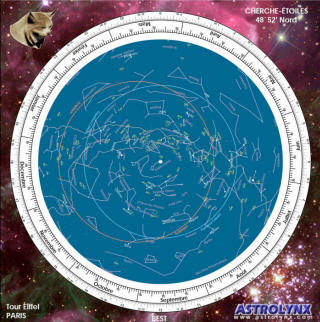
MOUNTING
YOUR STARFINDER
SIMPLE
MODEL
 |
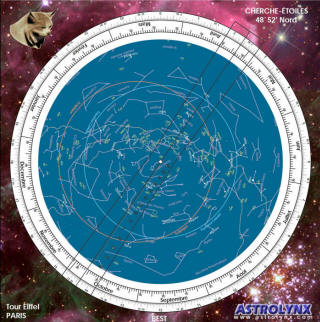
Step 1
You can click on the picture to enlarge (zoom). |
||
 |
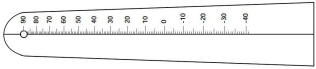
Step 2 1 - Print the declination rule and hourly disc on transparency film in
high resolution. |
||
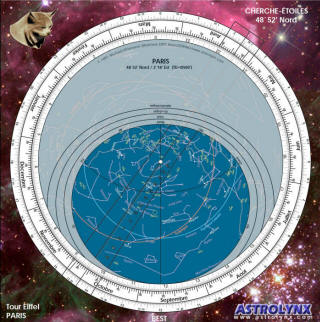 |
Step 3
You can click on the
picture to enlarge (zoom). |
||
 |
Step 4
You can click on the
picture to enlarge (zoom). Your starfinder is mounted... Turn this. |
||
 |
Step 5
You have several options to dress up the back of the starfinder
View on the left to the bottom of the page
Print the model chosen on glossy photo paper at high resolution
Cut and glue carefully on the back of the starfinder
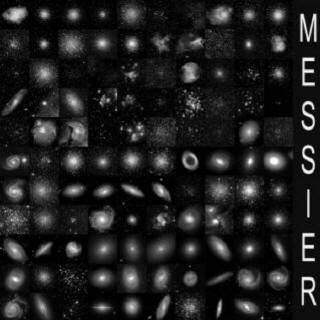
1 - Messier Black and White (Night use). |
||
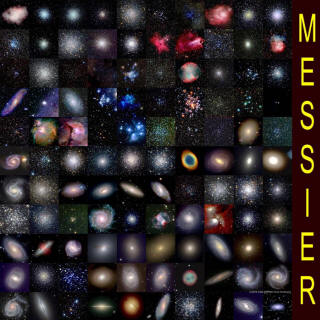 |
Step 5 (or) 2 - Messier Color (Day use). |
||
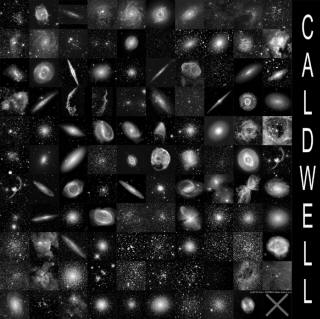 |
Step 5 (or) 3 - Caldwell Black and White (Night use). |
||
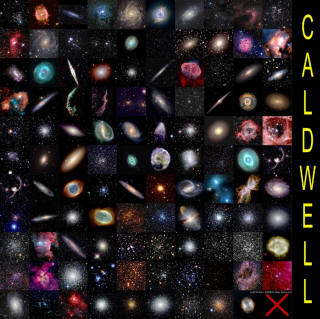 |
Step 5 (or) 4 - Caldwell Color (Day use).
|
||
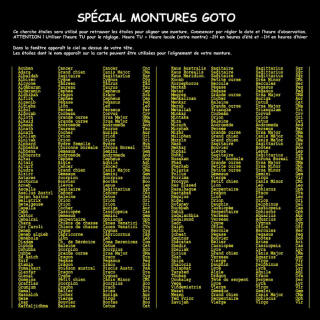 |
Step 5 (or) 5 - Special Goto (For the location of stars requested by the racket during the initialization of the mount) |
And many more additions to come to make the Swiss Knife of the Amateur Astronomer. |
![]()